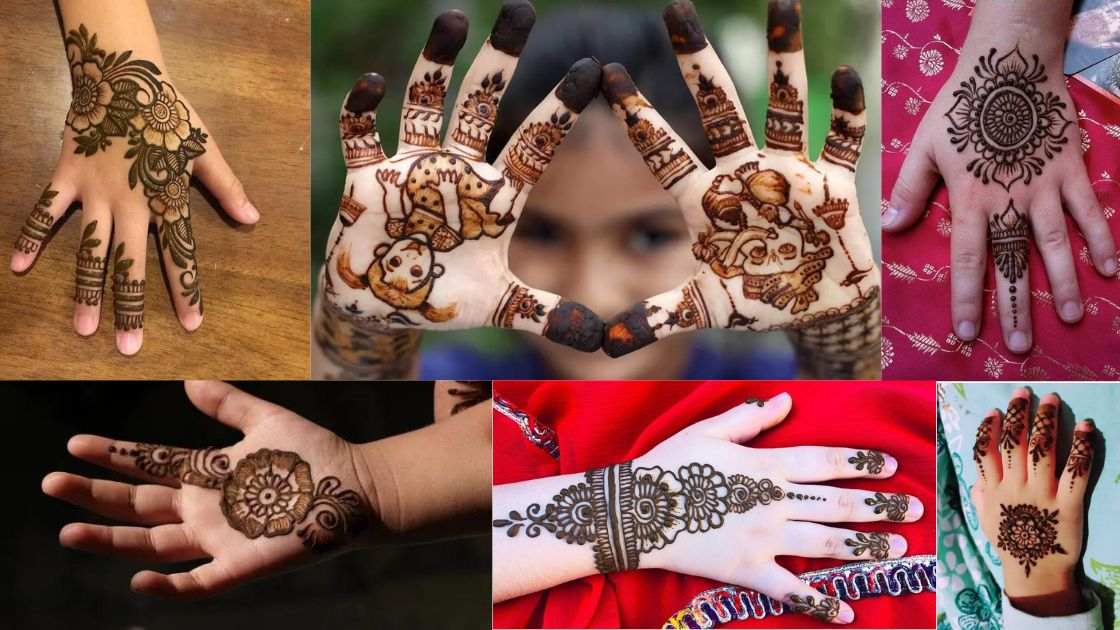
Apply Mehndi for Kids
Applying mehndi (henna) for kids can be a fun and creative activity, especially during festive occasions, cultural celebrations, or parties. Here’s a simplified guide on how to apply mehndi for kids:
Materials you will need:
- Child-friendly henna cones or tubes: Purchase henna products that are designed for children and are non-toxic. These henna cones or tubes are usually milder and suitable for kids.
- Age-appropriate design templates: For children, consider using simple and playful design templates that feature basic shapes, animals, flowers, or patterns. You can find child-friendly design templates online or create your own.
- Plastic squeeze bottle or henna cone: Use a small, easy-to-handle applicator to apply the henna.
- Toothpick or fine-tipped applicator (optional): Useful for adding finer details to the designs.
Steps:
- Prepare the child: Make sure the child is excited and comfortable with the idea of getting henna. Explain the process and show them some design options to choose from.
- Cleanse the skin: Ensure that the child’s skin is clean and free from any lotions or oils. It’s best to start with clean, dry hands.
- Select the design: Let the child pick a design template or suggest some child-friendly design ideas. Simple, whimsical designs are usually more appropriate for kids.
- Application process: Use the plastic squeeze bottle or henna cone to apply the henna over the chosen design on the child’s hands. Start from the center and work outward. Children may enjoy the process more if they’re encouraged to apply the henna themselves with your guidance.
- Drying time: Allow the henna to dry naturally, which can take a few hours. Make sure the child doesn’t smudge the design while it’s drying.
- Avoid touching: Kids may be eager to touch and play with their hennaed hands, but it’s essential to instruct them to avoid touching it until it’s fully dry.
- Seal the design (optional): You can apply a mixture of lemon juice and sugar over the henna design to enhance the color and make it last longer.
- Waiting time: Allow the henna to remain on the child’s skin for several hours or overnight, if possible, to achieve a better stain. Be mindful that children may find it challenging to keep the henna undisturbed.
- Scrape off the henna: After the henna has fully dried, gently scrape off the dried henna paste with a blunt object.
- Enjoy the results: Once the henna design is revealed, the child will have a fun and temporary henna tattoo that they can proudly show off. The design will gradually fade over the course of a week or more.
Applying mehndi for kids can be an enjoyable and creative experience, and it’s a great way to introduce them to this traditional art form. Be sure to use age-appropriate and non-toxic henna products, and always supervise the application process to ensure their safety.
Related Links
Content Specific Keywords#mehndiartist#hennadesigns#mehndiart#bride#bridalhenna#hennainspire#art#hennalove#indianwedding#bridalmehndi#bridal#mehandi#hennawedding#pakistaniwedding#hennainspo#mehndilove#whitehenna#mehndibride#hennainspiration

